3/18/2013

Crazy Buffalo Drum Kit!

I've been using a snare drum that I made from a Remo Buffalo Drum for almost 2 years now. There's a post on here somewhere showing how to do it. I absolutely love the dry sound I get from my Buffalo snare. I decided to make a whole kit from Buffalo Drums. I had a 22" Buffalo Drum laying around that I had intended to turn into a portable bass drum. I drilled a couple holes in a board and used 2 bolts to attach the 22" drum to the board. The board allows me to use a bass drum pedal with the Buffalo Drum (since there is no rim). I then taped some sheets of cork to the bottom of the non-batter side of the board in order to lift it up and make it level. The cork is also nice and non-slip, an unexpected benefit. I used some hippie ass looking duct tape to secure the cork to the board. I bought the board at a thrift store for one US dollar ($1). The sheets of cork were 25 cents apiece. I used three sheets of cork to level the board. The pic below shows the board and bolts. (All of the Buffalo Drums come with convenient holes pre-drilled in them for rope handles. The holes are 5/16").


22" drum bolted to the board.
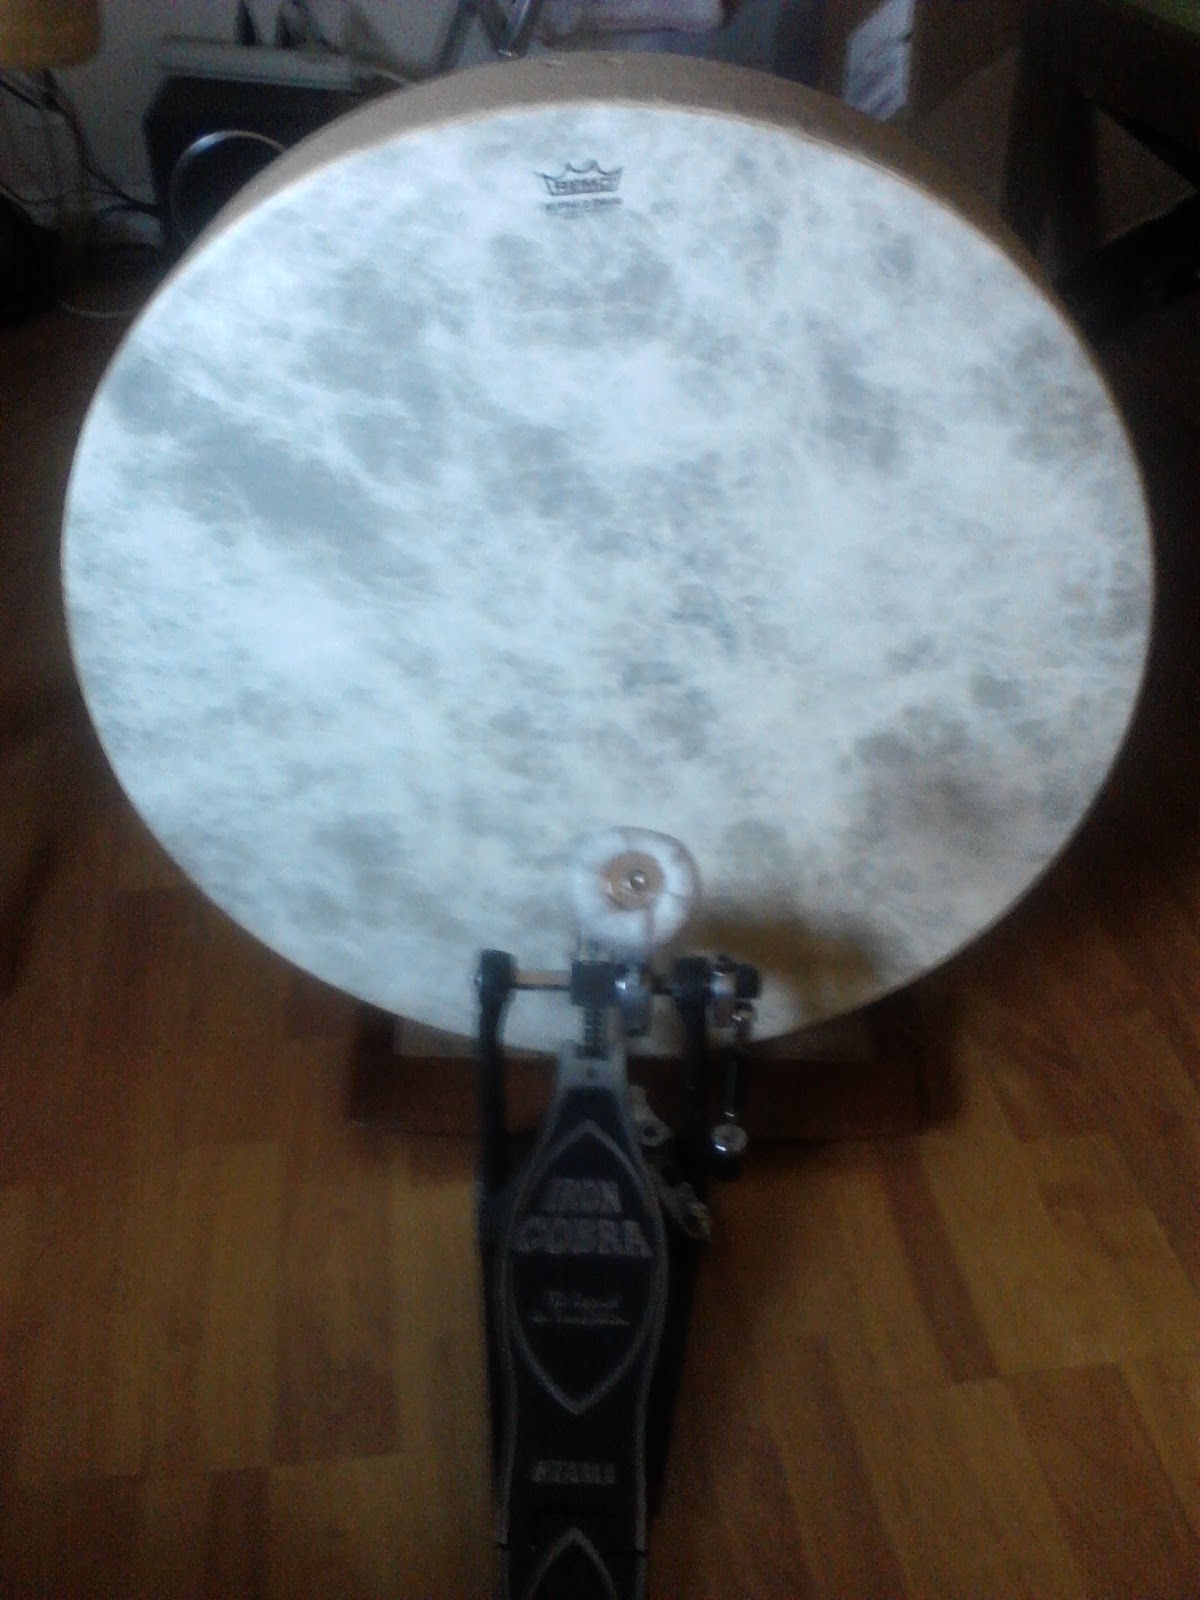

The finished bass drum assembly.

I had been using my 14" Buffalo drum as a snare, but I wanted it for a 'floor' tom. I cut some snare wires to length and screwed them into an 8" Buffalo Drum (which makes a super dry popcorn type snare sound, almost like a drum machine snare sound!). I then bolted the 8", 14" and 10" Buffalo Drums together to create my tom/snare set up. The pic below shows the snare wires and bolts. These drums are so light that I can put the whole thing in a snare basket!


The bottom side of the snare/tom assembly.


Top view of the snare/tom assembly. Snare is on the left.

The Buffalo Kit is pretty high pitched and there's no way to tune it. It sounds like hand drums being played in kit fashion (of course, because that's what it is!). It's a lot quieter than a normal drum kit, making it perfect for apartments or small spaces. I want to add two more Buffalo Drums to it as toms. The snare/tom assembly weighs maybe 4-5 pounds, the bass drum assembly maybe 4 pounds (without the pedal). I set the tom/snare assembly up in front of the bass drum. This is a super fast kit, with no space between the drums at all! It sounds great though! Set up time is about ten seconds. Put the drums in the snare basket, clip on the bass pedal and it's ready to go. This is a great kit for people on a budget! The Buffalo Drums will cost you about $160-190 total, depending on which sizes you buy and how many you use. This is a great practice kit - leave your full sized kits at the rehearsal studio and play this bad boy at home!


The fully assembled Buffalo Kit!

I have given away every Crazy Drum Kit that I've built, but this one is a keeper and will be with me for many years to come. (LIES! I sold most of these.) The shells are weather proof! Super light, super easy to set up/tear down, and the shells are only 3.5 inches deep, making them easy to nest inside of each other. Although this kit does not sound like a full sized kit, it's a great alternative for small spaces where you need to play quietly.This kit is good for playing outside too! Another benefit is that you never need to tune it. I really love this little bastard. I've been playing the shit out of it.

11/21/2012

Crazy Tiny Square Snare Kit

This is my newest crazy drum kit. The bass drum is a 14" X 9" drum from a kid's kit. I stripped the hardware and wrap, refinished the wood, and put it back together. I used a coated head for the batter side. The drum was given to me.

The snare drum is made from a cheap wooden box that I picked up at a thrift store for 75 cents. I sanded it, stained it and varnished it. The bass drum is sitting on a wire basket that I payed 75 cents for at the thrift store.

A friend sold me the bass head for $2.50. I used about one dollar's worth of stain, finish and sandpaper. The hi-hat stand is from a Ludwig child's kit. The hi-hats were given to me.

The bass pedal is my old trusted Pearl pedal. Total cost for this kit: 5 American dollars. The snare sounds super dry and is very similar to a cajon. There are no snare wires in it, but it sounds like a snare! The bass drum is deep toned, but I had to muffle it to get the proper bass tone.


5/18/2012

The Little Monster

The Little Monster!! This kit is a 12" X 10" Peace tom with a snare basket mounted on top. I screwed some angle irons to a wooden box and then attached a piece of wood to the angle irons (to clamp the kick pedal on). I had to cut down a cymbal post to about 4 inches long to slide into the tom holder on top of the tom, in order to hold the snare basket (the basket post was too narrow for the tom holder.) The little bass drum is tuned wide open and NOT muffled for a big beefy sound. I'm delighted with how great The Little Monster sounds. The snare is, of course, my Buffalo snare, but any snare can be used. The hi-hat pedal is a tiny little kids hi-hat that matches this kit perfectly. The whole thing is 27" high by 12" deep by 15" wide, making it officially the smallest kit I've ever built. Here's what it looks like set up:

One Stand To Rule Them All!

I call this... One Stand To Rule Them All! I used a cymbal stand as the base. I stuck a tom holder in the cymbal base. I clamped on a snare basket. I clamped on a cymbal boom. Instant drum kit! Here's a view of it set up:
Here's a view of it by itself:
Here's a side view so you can see how it's done:
The snare is my much-loved Buffalo Snare. The tom is a 14X14 Pearl Export series that I refinished. The cymbal is an 18" Sabian B8 crash/ride. Since I normally play a 3 piece set up, this is really good for me. Very fast and natural feeling.

4/04/2012

Cocktail Restoration

UPDATE: Here is a pic that Mikey sent me of the drum set up. I went and played it and it's dreamy. He's using the roto-toms, bell, and remote hi-hat. The stuff behind that is another one of his kits.


Here is the Slingerland cocktail kit that I found for $30. It had heavy water damage and the wrap was pretty well destroyed, so I decided to refinish it. I spent over 40 hours working on this drum and it shows. I sold it for a goodly sum and the new owner (Mikey) is very happy with it. Once Mikey tuned it, it sounded fantastic.

That wrap had to come off, so I started peeling it very carefully with a hairdyer and a paint scraper.

Before the shell could be sanded, the old glue (and glitter from the wrap) had to be stripped off. I used a very caustic paint stripper because the glue was old and kind of embedded in the grain of the wood. I got really high off the paint stripper and had to leave the room several times. The fumes gave me a pretty ruthless headache that I knocked down with some beers.

Once the shell was clean, I sanded it for a very long time - 25 hours of the labor in this project went into the sanding. Then I stained it (very lightly) and sanded it some more. Then I started coating it with a non-VOC floor finish that I like to use because it is absolutely brilliant. This picture is after two coats of poly.

After days of drying and re-coating (five coats of poly in all) the drum looked like this:

I was extremely happy with the way this project turned out. It was hard to sell this beauty, so I sold it to a good friend who I know will love it!

Another Frankenkit

Another Frankenkit that I built. The tom is a Peace tom ($10 at a thrift store). The kick drum is a Pearl Export series 22" (free - a gift from a friend) that I refinished. The snare is the now famous Buffalo Snare ($39). So total cost for the 3 shells - $49. That's right, less than fifty dollars and it sounds absolutely brilliant. The hi-hats cost me 40 bucks (jilted lover selling things) and the ride cymbal was free - I found it in the gutter, literally (along with a 7 piece kit, but that's another story.) The kick pedal is some cheap ass Pearl pedal, and the hi-hat stand is an Iron Cobra (of course!) The hi-hat pedal is the most expensive thing on the kit. This kit sounds thunderous and is super easy to set up and take down. There is a cocktail kit hanging out in these pics that doesn't belong there.


Buffalo Snare

This is my snare. I bought a cheap ($39 new!) Remo Buffalo Drum(hand drum) and screwed a set of snare wires into it. The Buffalo Drum shell is made of Acousticon and the head is Fiberskyn, both proprietary materials that Remo invented that are water, temperature and weather proof. After 7 months of playing, there isn't even a mark on the head. The head is bonded to the shell and there is no hardware on this drum. It weighs about one and a half pounds.

I used a 20 strand Puresound snare. I cut one of the ends off as well as about 4 inches of the snare wire. I attached the remaining end to the shell with a screw.


Inside view. I just used duct tape to hold the snare wires to the drum head's surface. There is no throw off so this is a full time snare drum. This drum is super dry and tasteful! No bottom head=lots of projection to cut through the mix.